If you landed here because of a Wi-Fi AP unplugged or not working alert and you didn’t intentionally remove the AP, this isn’t the right article — open a support ticket instead.
When to use this procedure
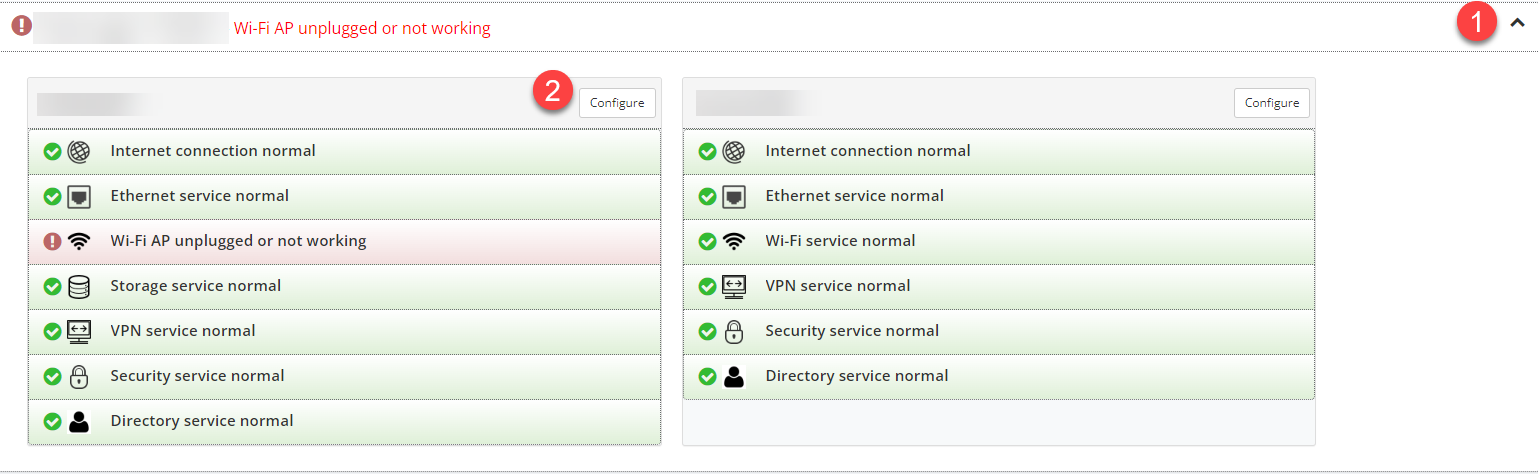
Disconnecting or relocating an AP triggers a red alert in the Portal telling you the AP has been unplugged or is no longer working:

If the disconnect was deliberate — the AP has been retired, returned, or moved to a different customer site — the alert needs to be cleared by removing the AP from the original site’s configuration. That’s what this article covers.
Removing the AP
- In the Portal, click the Customer heading to expose its sites.
- Click Configure on the site where the AP was located.
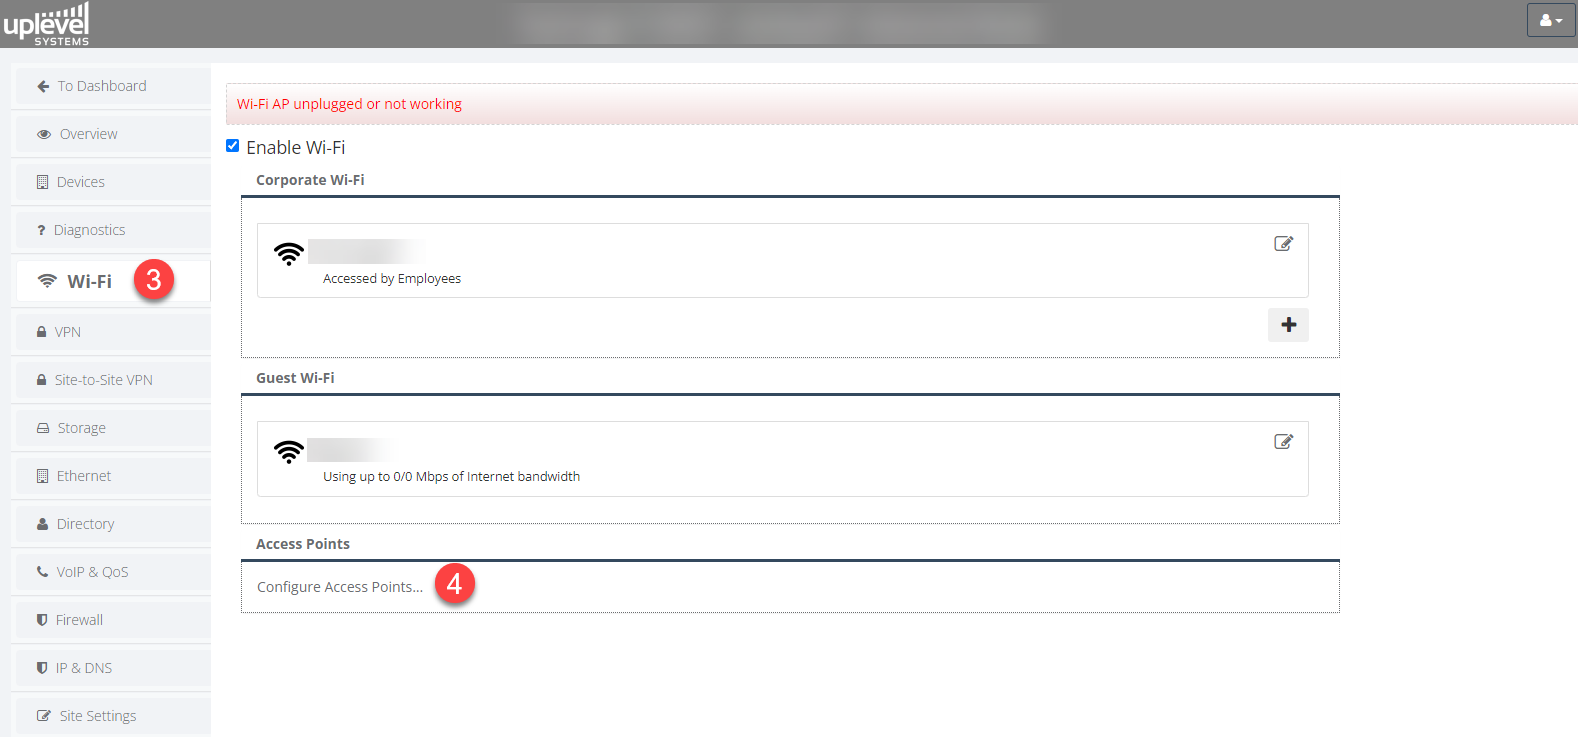
- Click Wi-Fi.
- Click Configure Access Points.
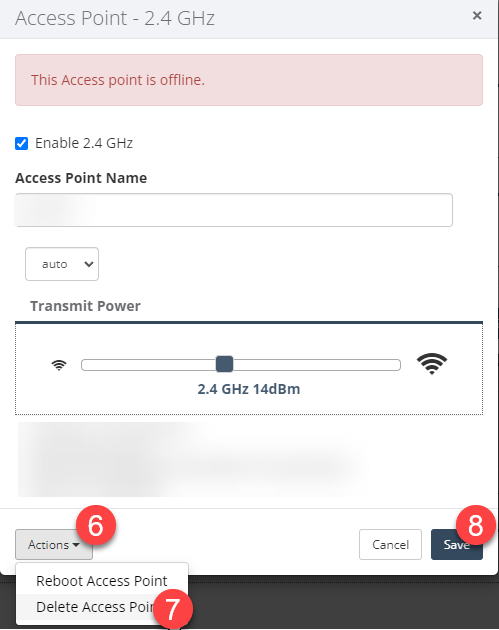
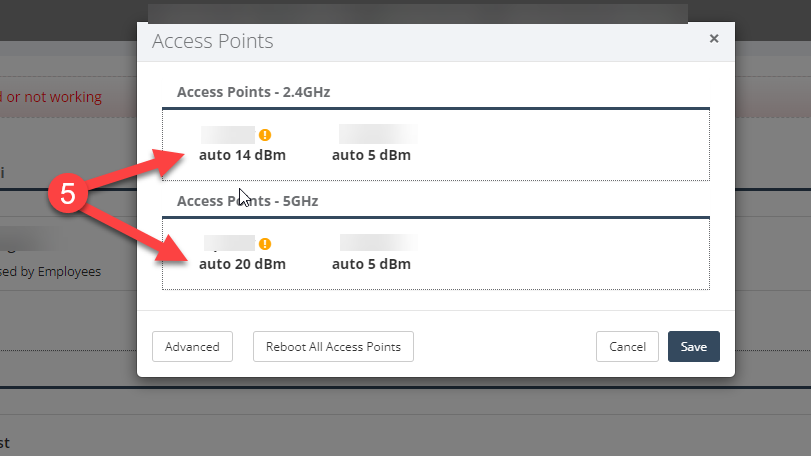
- Click the name of the AP you want to remove.
- Click Actions.
- Choose Delete Access Point.
- Click Save.
After a couple of minutes the system wipes the AP from the configuration database and the red notifications disappear. The operations backend also picks up the change, so billing stops counting the AP as assigned to that customer.
If you have questions about billing, contact the Sales Team.