Customer and site names are surfaced everywhere in the Portal, in alert emails, and in PSA tickets routed from those alerts, so keeping them correct matters. Renaming is a quick two-step operation.
Rename a customer
- In the Portal, find the customer in the customer list and click the edit (pencil) icon next to the name.
- Enter the new name and save.
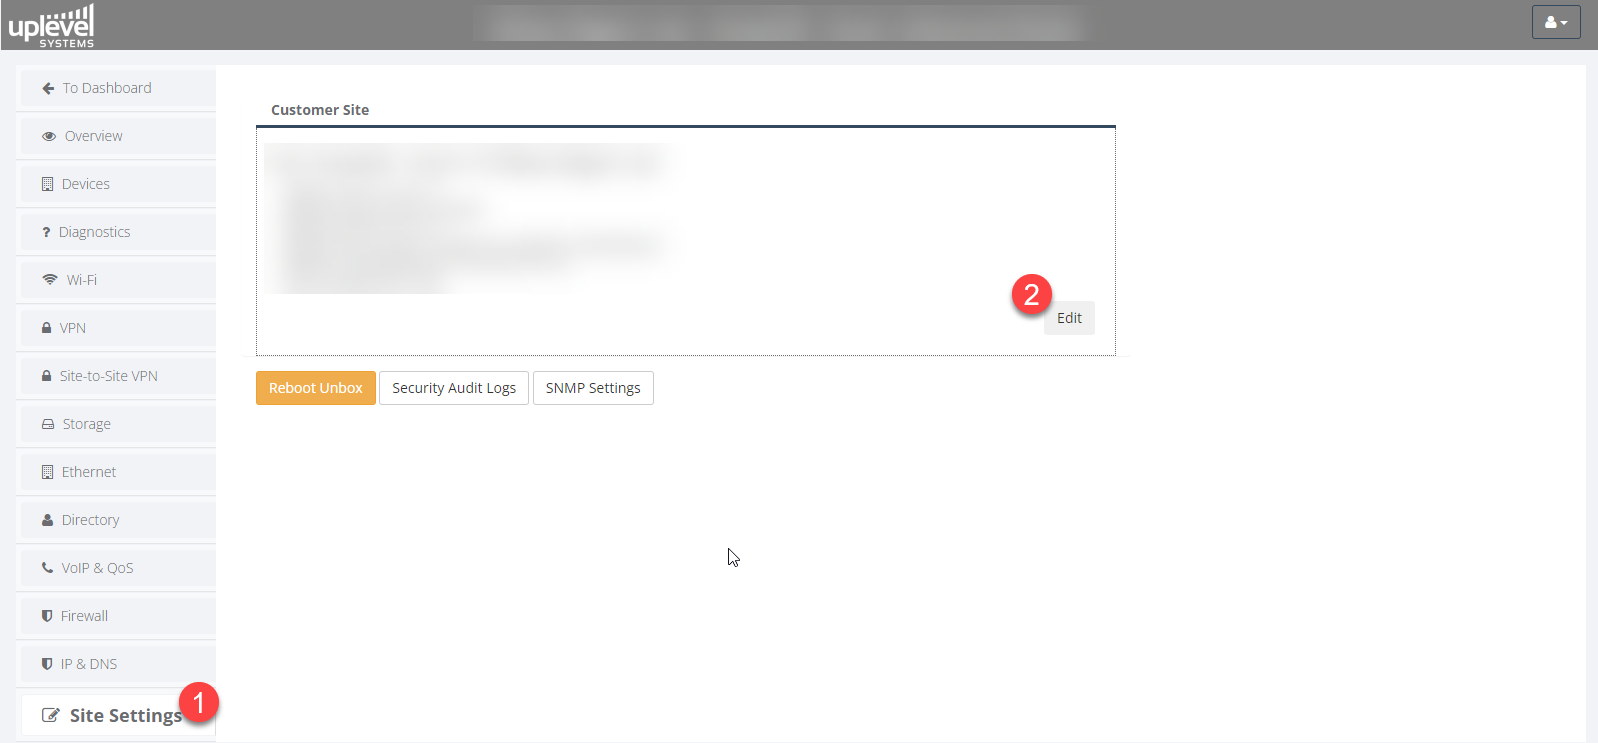
Rename a site
- Expand the customer to reveal its sites.
- Click Configure on the site you want to rename.
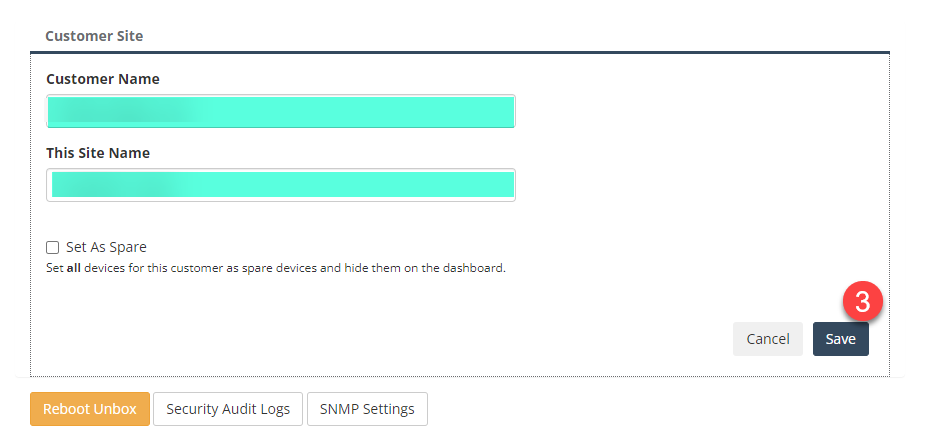
- On the site overview, click the edit icon next to the site name, enter the new name, and save.
The change takes effect immediately. Any alert templates that
reference {customer} or {site} will pick up the new name on
the next alert.